

How To Install Short Shifter Civic
Introduction
Important!! Delight read the unabridged install guide twice before starting your installation. No really, it's a good idea to read information technology twice before you begin and then everything goes smooth.
-
-
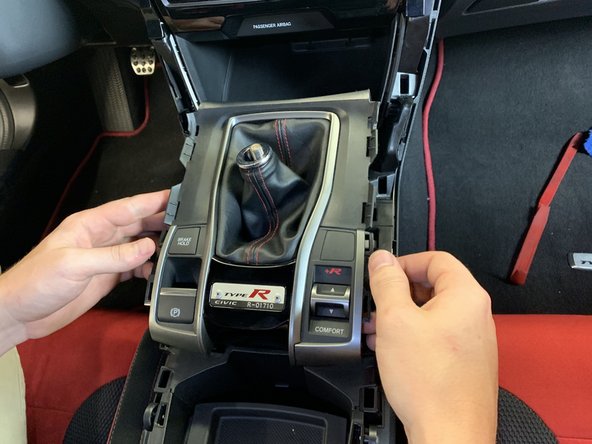
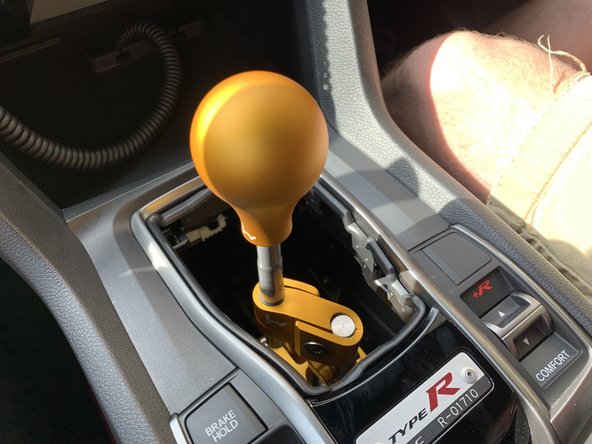
Remove your shift knob.
-
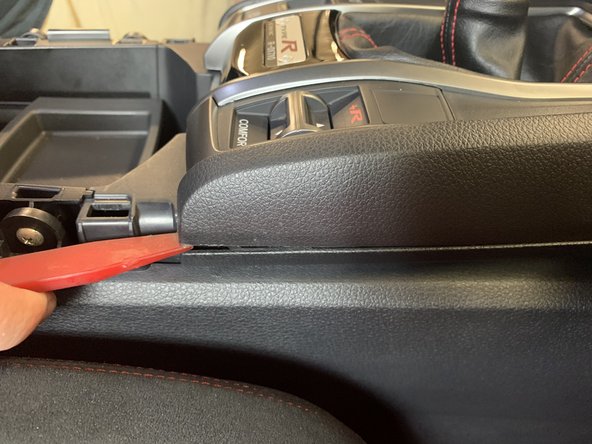
Remove the boot collar by pushing down on the clip.
-
Utilize a 14mm Open End Wrench to unscrew the threaded department of the collar. Some may crave tools to remove, exist conscientious non to damage the threads.
-
-
-
Pull upwards on the side console pads and remove them.
-
They aren't screwed or bolted into place then just pull upwards and they volition pop out.
-
-
-
Use a plastic panel tool to pry the upper console section. Once information technology pops up, grab the upper department and pull information technology towards you.
-
These panels are held in with clips and do non crave tools.
-
Pop both left and right upper sections off.
-
-
-
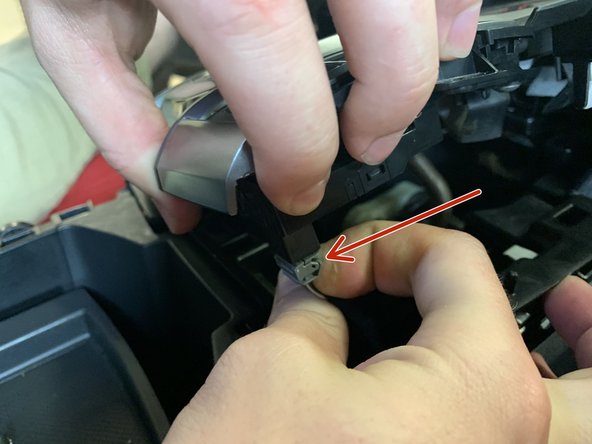
Using a #ii phillips screwdriver, unscrew the ii screws that agree the shift kicking embrace.
-
Use your easily and pry the sides of the cover up and pop it off.
-
-
-
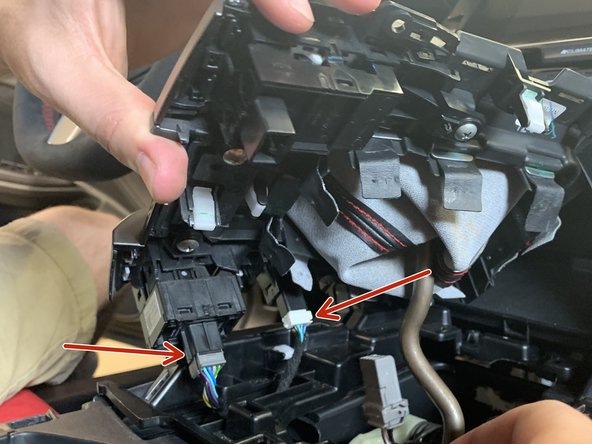
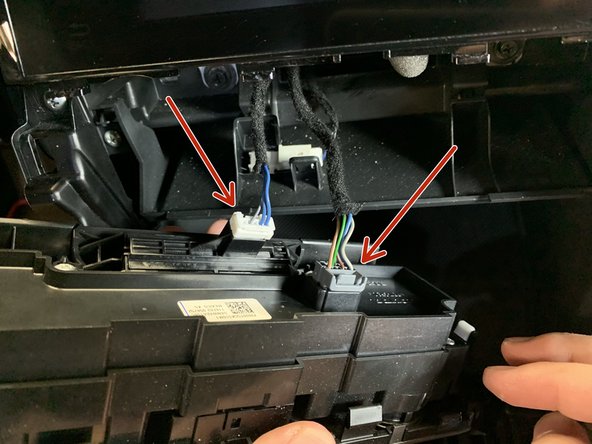
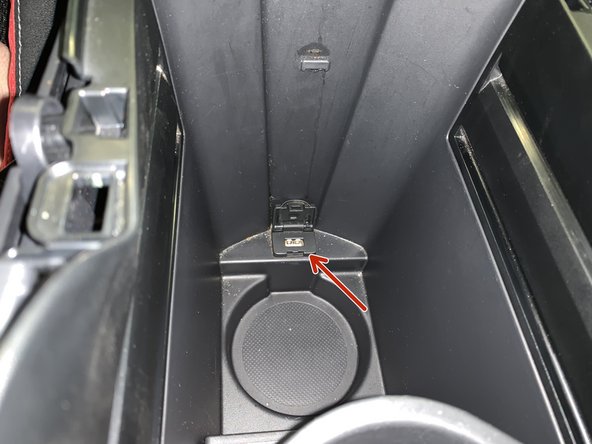
Unplug the bulldoze way selector equally well every bit the parking brake and brake hold button.
-
-
-
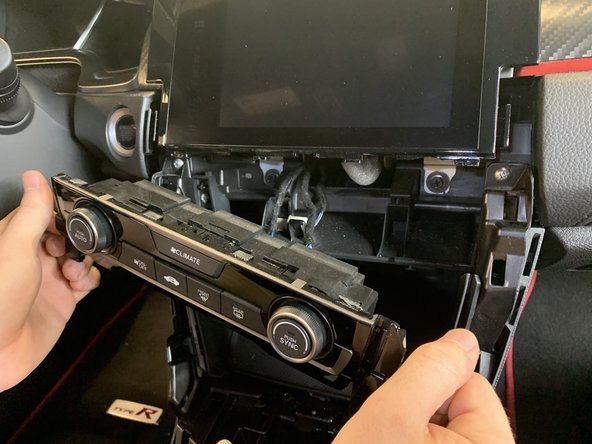
Employ your hands and pry the lower department of the climate control towards you.
-
Once it pops out, catch information technology from the sides and pull a little more. It should pop out.
-
Unplug the climate control and ready information technology aside.
-
-
-
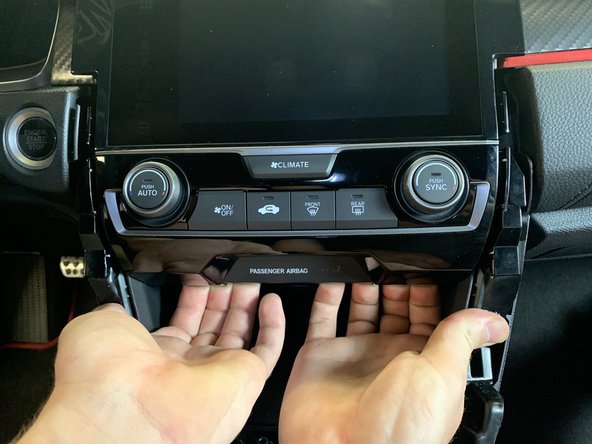
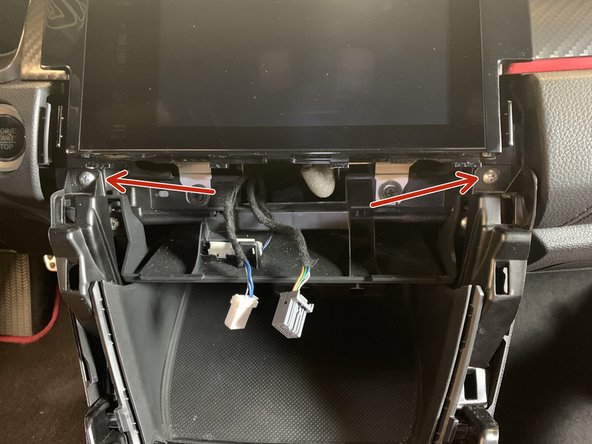
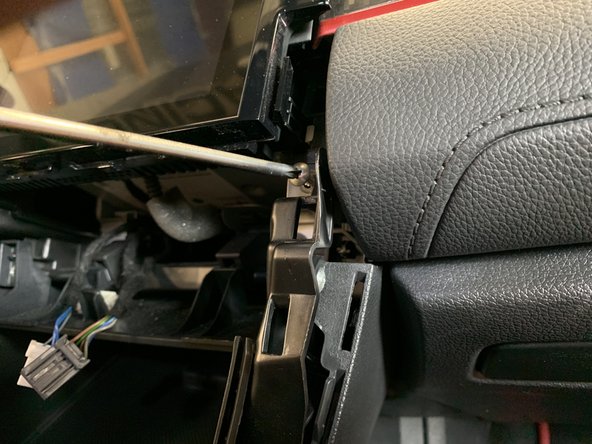
Utilise a #2 Phillips screwdriver to remove the two upper console screws.
-
Next, remove the heart panel screw.
-
-
-
Use your hands and pop the sides of the console upwardly. Once it is free, lift upwardly and remove it completely.
-
-
-
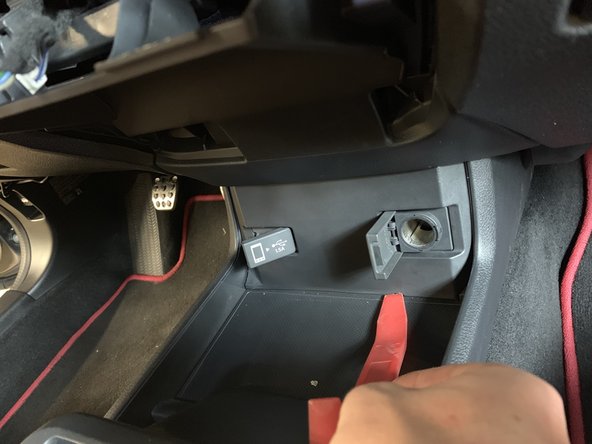
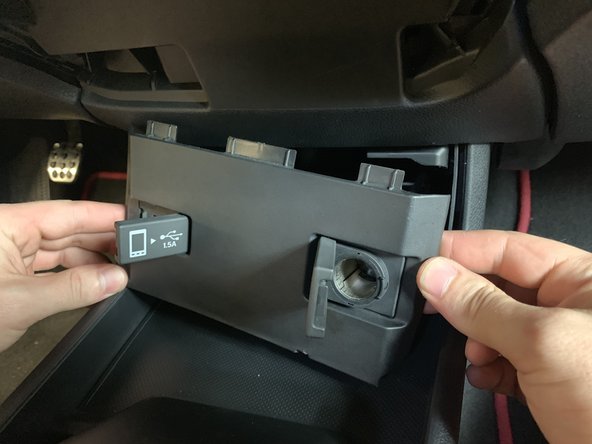
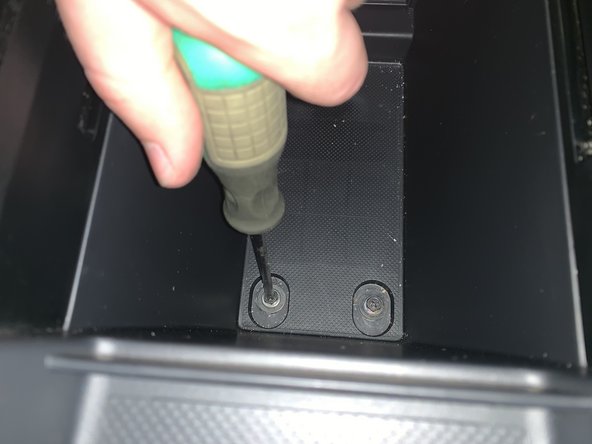
Use a plastic panel pry tool on the lower section of the console embrace.
-
Unplug the 12v connector and the smartphone USB connector.
-
-
-
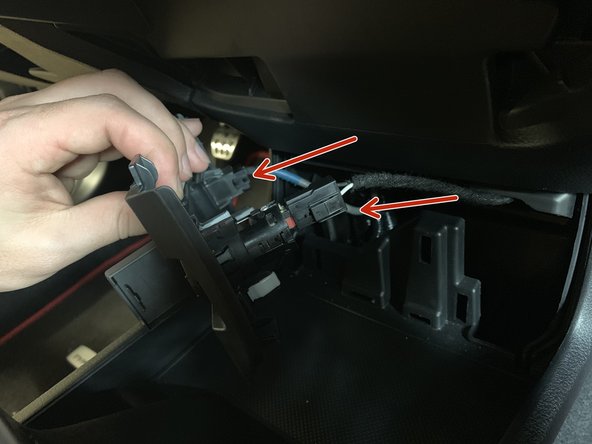
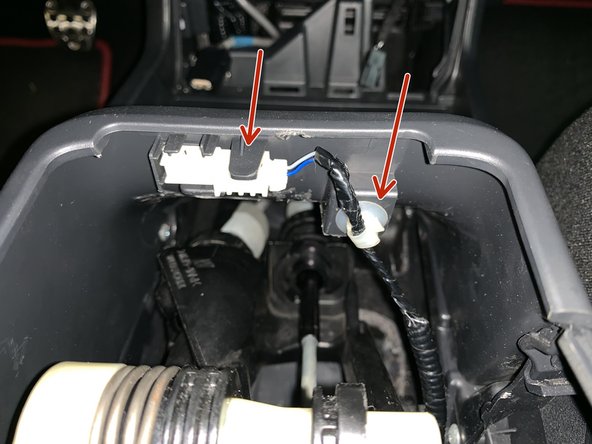
Use a plastic panel pry tool to separate the rear section of the console.
-
Once the embrace comes off, unplug the keyless entry connector and remove the clip holding the harness in place.
-
-
-
Remove the 2 screws within of the eye panel.
-
-
-
Remove the panel light as well as the lower USB connector.
-
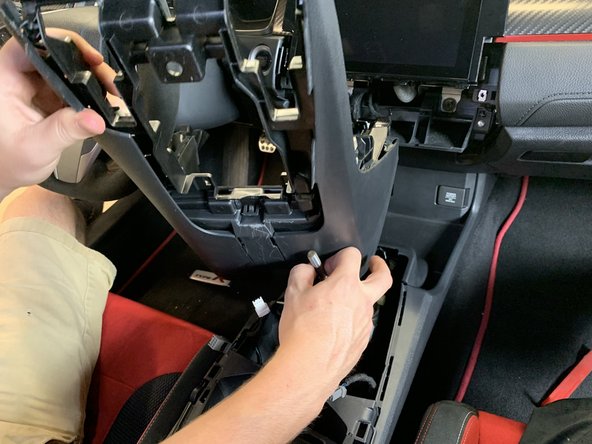
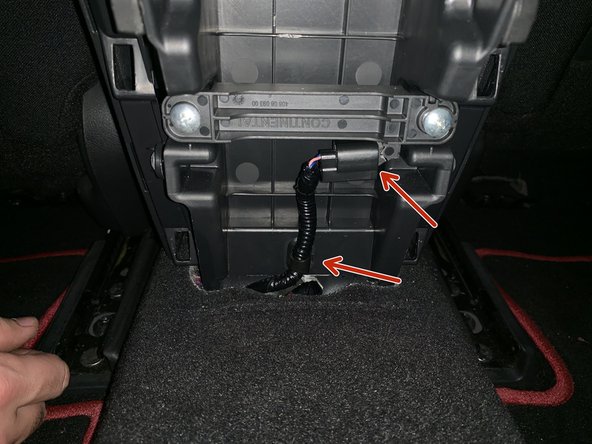
Y'all will need to lift the console upwards and unplug it from the bottom.
-
-
-
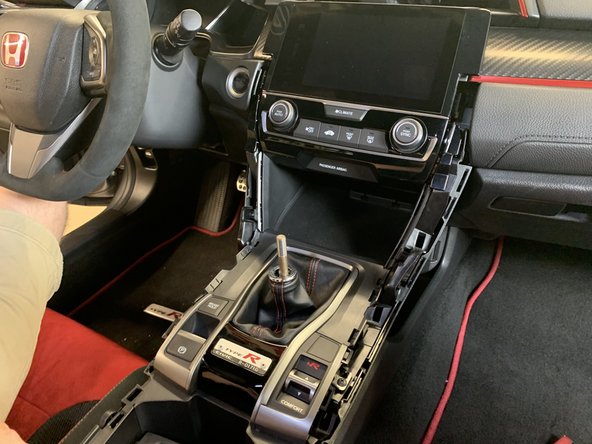
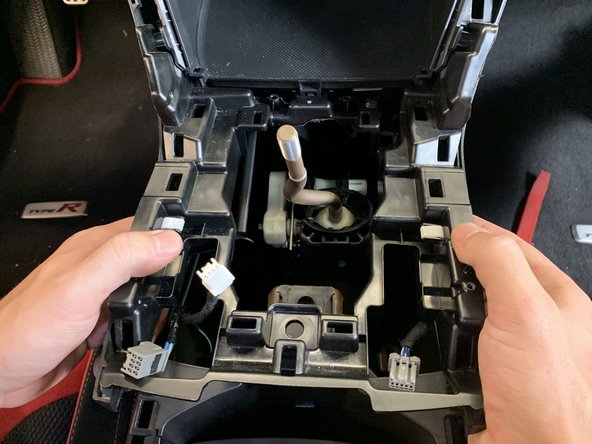
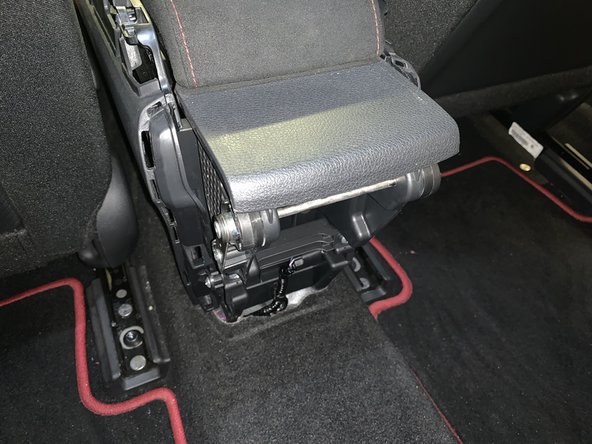
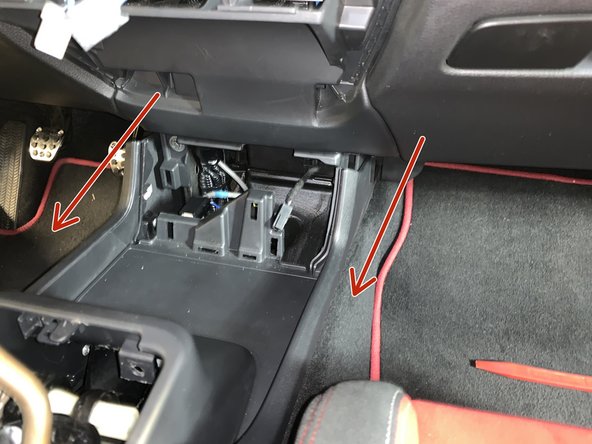
Slide the unabridged console backwards a few inches to unclip information technology from the dashboard.
-
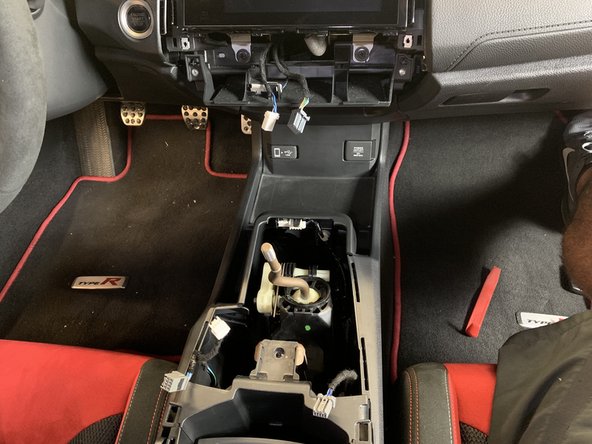
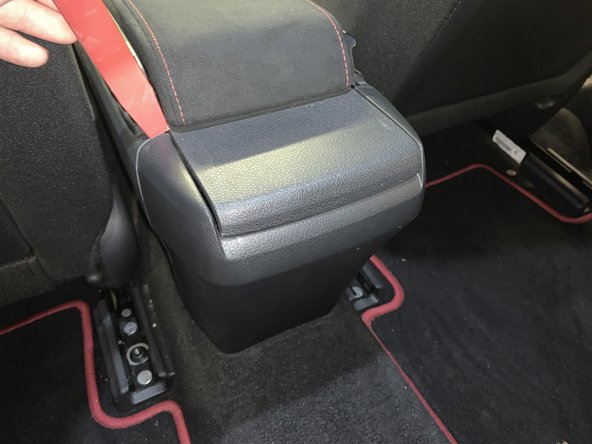
Lift the rear department up and remove the entire console from the auto.
-
-
-
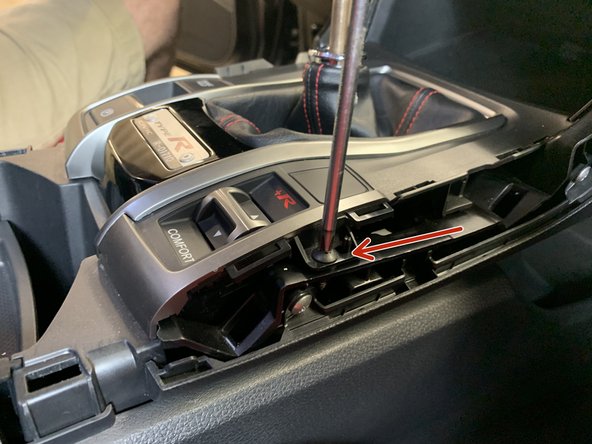
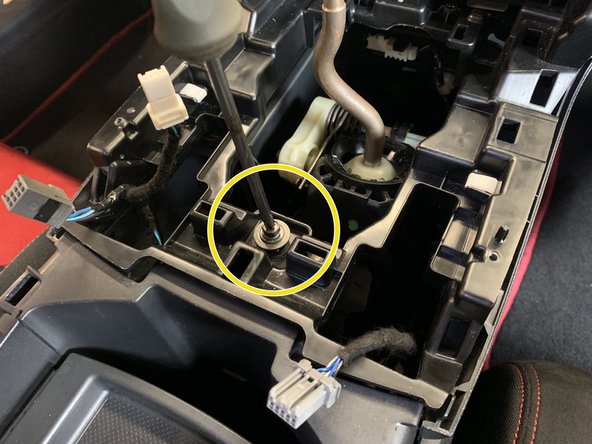
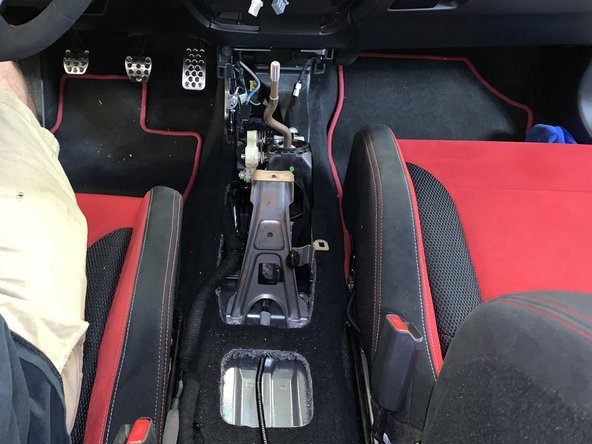
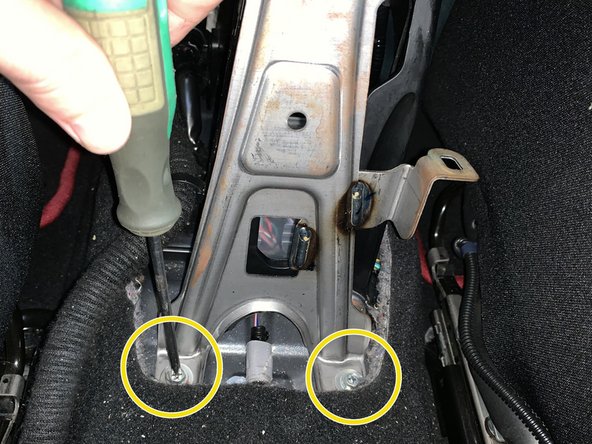
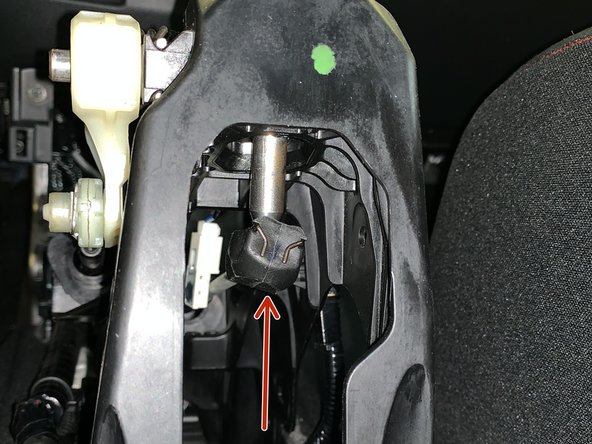
Remove the 2 bolts that concur the panel bracket to the chassis.
-
Remove the x4 10mm bolts on the base of the factory shifter.
-
-
-
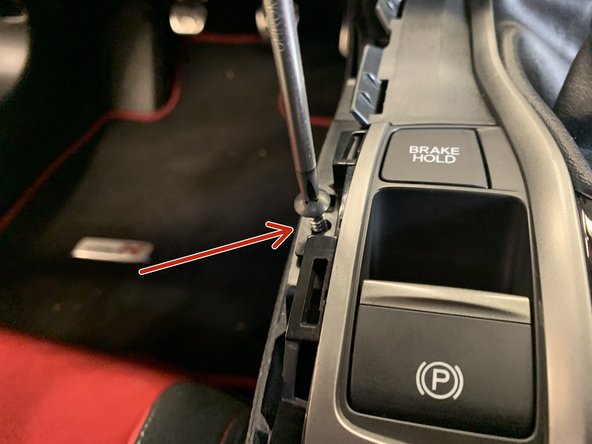
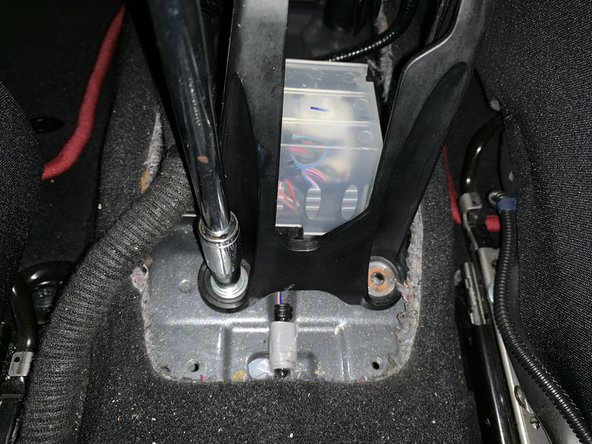
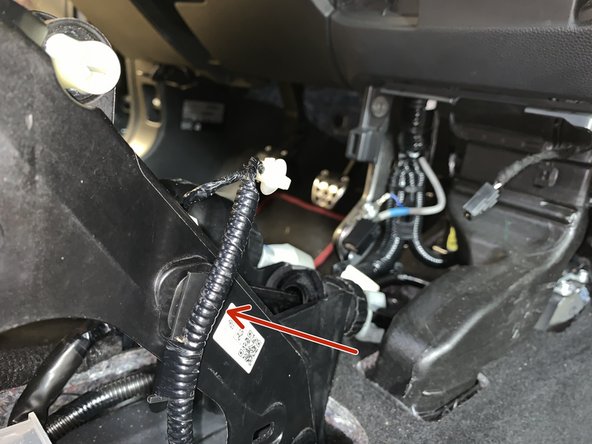
Remove the clips that concur the wiring harness to the factory shifter.
-
-
-
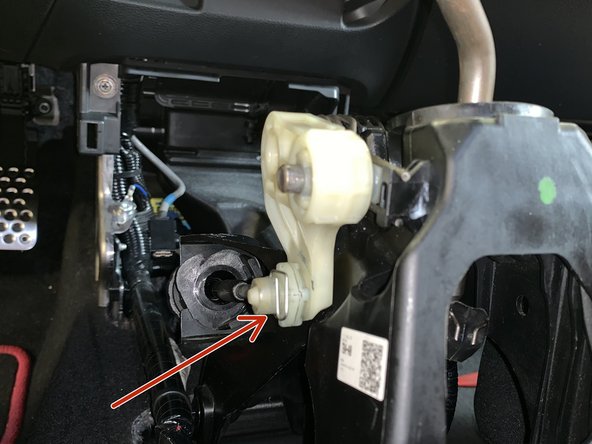
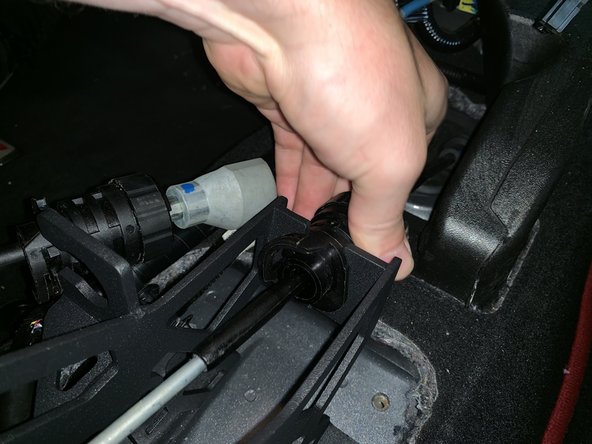
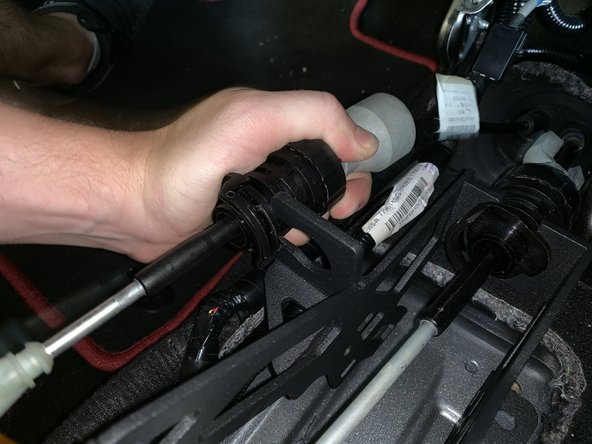
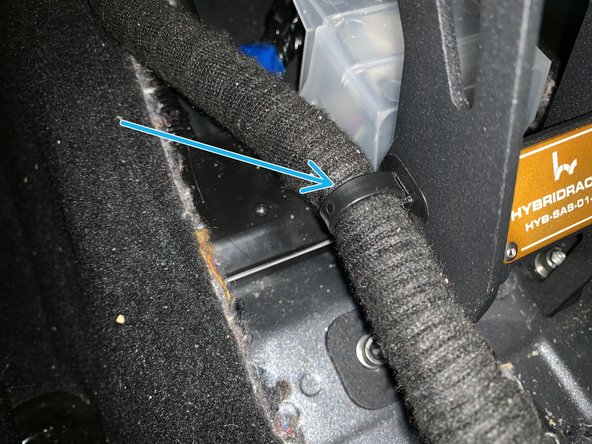
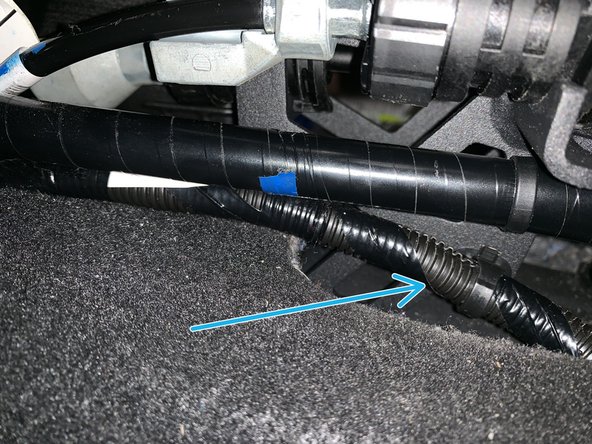
Pull the LH side retaining ring and slide the cable off the pin.
-
The lower cable retaining ring must be pulled apart and then you can slide the cable end link off the shifter ball.
-
-
-
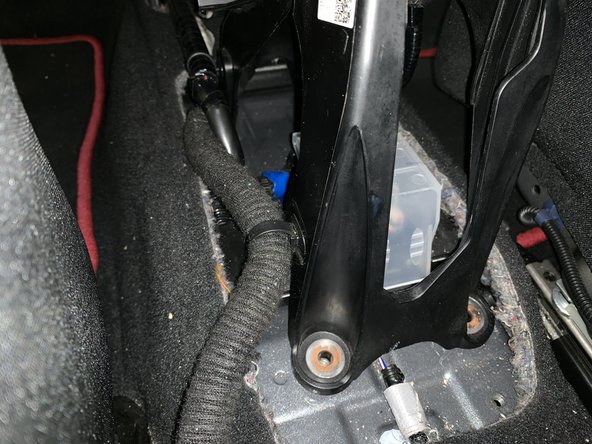
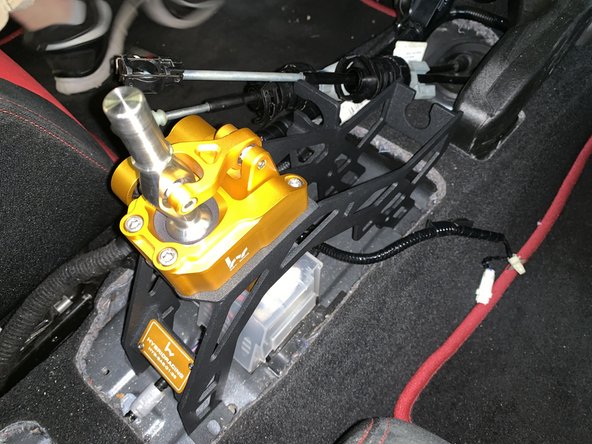
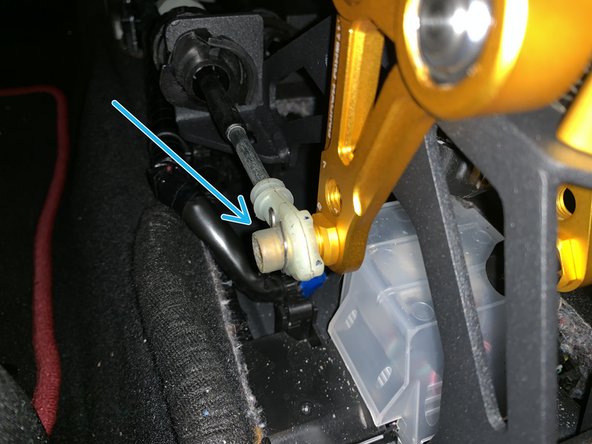
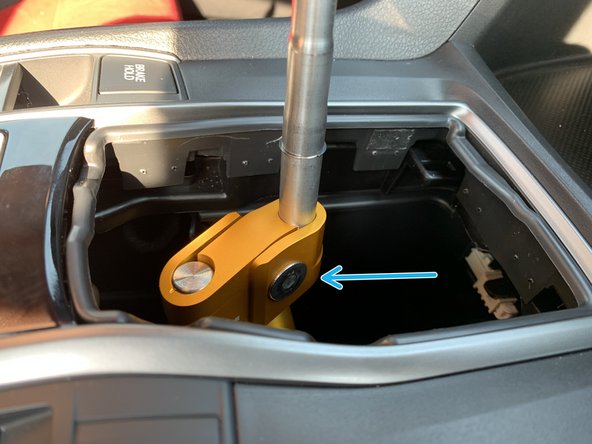
Install the Hybrid Racing shifter and line up the shifter cables.
-
Twist the cable mount and slide it into the shifter. Brand sure you align it correctly otherwise the cables volition not slide in.
-
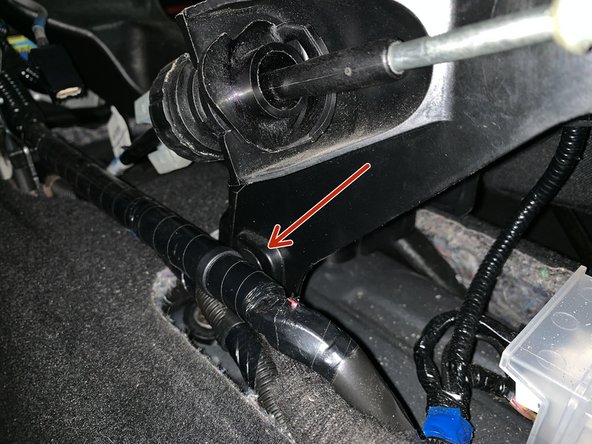
Using the provided bolts and washers commodities the shifter to the chassis with a 5mm Allen wrench
-
-
-
At that place are 2 separate adjustments for each shifter cable. The Forepart/Dorsum and Left/Right cablevision tin exist adjusted independently.
-
Position 1 is the longer of the ii settings. In an FK8, this setting is about 5% shorter than stock.
-
Position two is the shortest possible setting. In an FK8 this setting is about 25% shorter than stock.
-
Choose your preferred settings and connect the shifter cables.
-
-
-
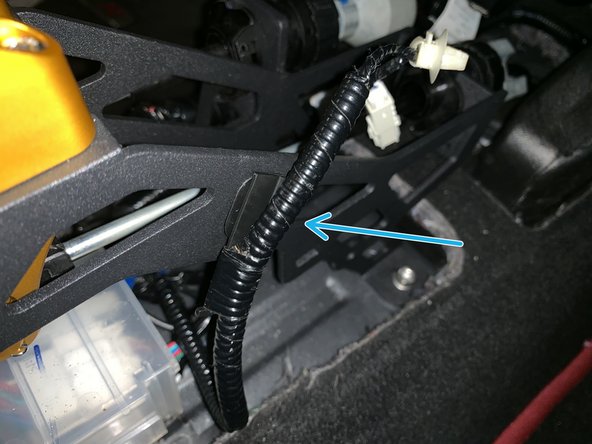
Reinstall the factory wiring harness onto the base of the Hybrid Racing shifter.
-
-
-
Remove the iv Allen bolts that hold the shifter to the base of operations. (simply 3 are shown in the epitome)
-
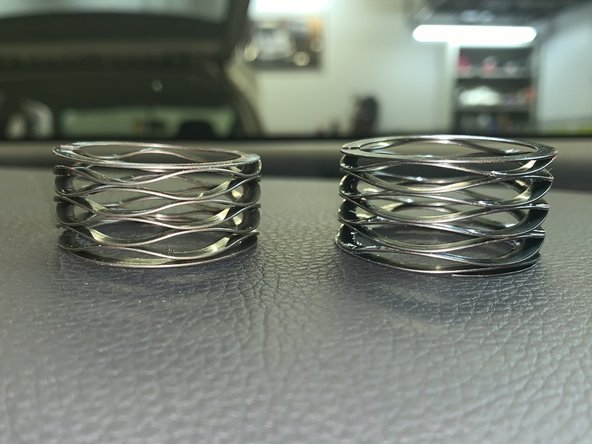
Once the 4 bolts have been removed, lift the shifter assembly upwards and the lower spring will come up out of the lesser.
-
Each Hybrid Racing shifter comes assembled with the stiffer spring, if yous adopt a slightly less strong feeling, bandy the spring to the softer jump.
-
-
-
-
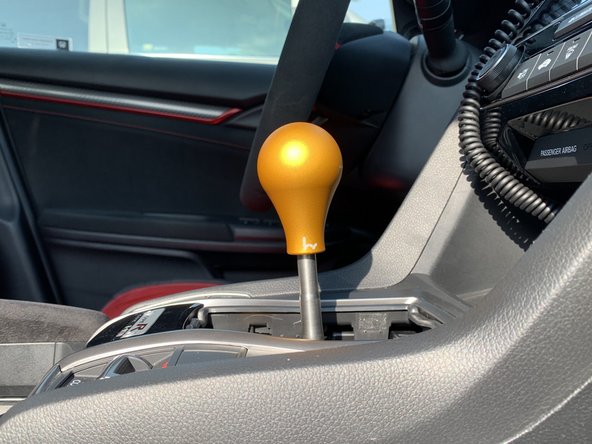
Follow the interior removal steps in reverse to install the entire center console.
-
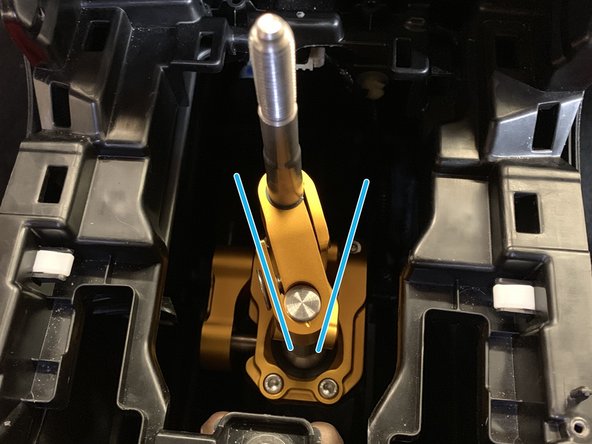
Adapt the upper showtime to rotate the shift knob.
-
Due to space limitations, the offset can only exist rotated a slight amount to the left or right. Our shifters are assembled in a LHD configuration. If you are installing this in a RHD car, loosen the offset bolt to rotate the shift knob towards the driver.
-
-
-
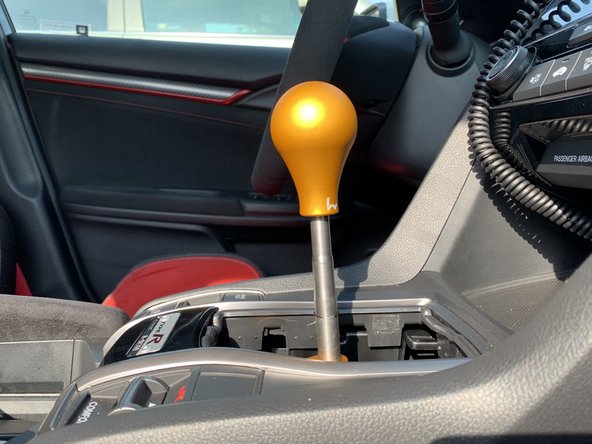
Use a 5mm allen wrench to adjust the shift knob elevation and set information technology to your personal preference.
-
These images depict the minimum and maximum acme.
-


Embed this guide
Choose a size and re-create the code beneath to embed this guide as a small widget on your site / forum.
Preview

Source: https://guides.hybrid-racing.com/Guide/Hybrid+Racing+17-20+Civic+Short+Shifter+Install+Guide/245
Posted by: coburnreamost.blogspot.com
0 Response to "How To Install Short Shifter Civic"
Post a Comment