

How To Install Cartridge In Hp Deskjet 1510
This document is for the following printers: HP Deskjet 1510, 1511, 1512, 1513, 1514, 2540, 2541, 2542, 2543, 2544, 2546, 2546B, 2546P, 2546R, 2547, 2548, and 2549; and Deskjet Ink Advantage 1515, 1516, 1518, 2545, and 2546 printers.
Follow the steps in this document to replace the ink cartridges in the printer.
Video of replacing the cartridges
The following video demonstrates how to supersede an ink cartridge.
notation:This video shows the HP Deskjet 1510 e-All-in-Ane printer, but the steps are the aforementioned for your printer.

Replacing the cartridges
Follow these steps to supersede and so align the cartridges.
Step one: Supersede the cartridges
-
Printing the Power push button to plow on the printer, if it is not already turned on.
-
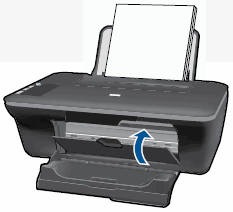
Load plain white newspaper into the input tray.
-
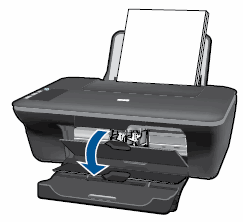
Open the ink cartridge access door. The carriage moves to the middle of the printer. Wait until the printer is idle and silent before standing.
-
Lightly press down on the ink cartridge to release information technology, and and then pull the ink cartridge out of its slot.

-
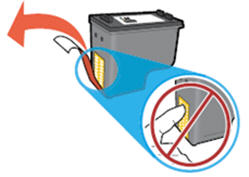
Remove the new ink cartridge from its packaging, and so pull the orange tab to remove the plastic tape.
caution:
Practise not impact the copper-colored contacts or the ink nozzles. Touching these parts tin upshot in clogs, ink failure, and bad electric connections.
-
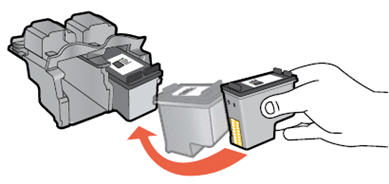
Agree the ink cartridge past its sides with the nozzles toward the printer, and then insert the ink cartridge into its slot. Make sure that the ink cartridge is inserted in the right slot.
-
The tri-color ink cartridge
 goes in the slot on the left.
 -
The black ink cartridge
 goes in the slot on the right.
-
-
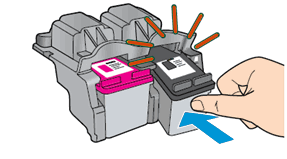
Push the ink cartridge frontward into its slot until it snaps into place.
-
Echo these steps to supplant the other ink cartridge, if necessary.
-
Close the ink cartridge access door.
-
Follow any prompts on the screen.
-
Wait about xxx seconds for the alignment folio to automatically impress.
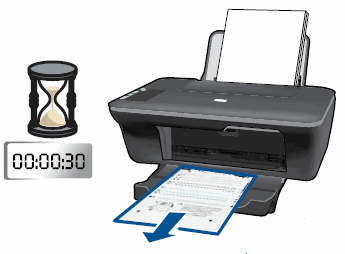
note:
The printer prints an alignment page automatically only when a new ink cartridge has been installed.
Pace ii: Align the cartridges
Follow these steps to marshal the cartridges.
-
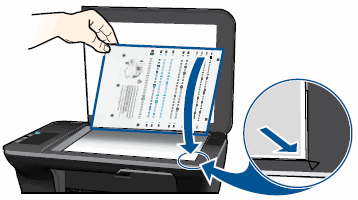
Lift the scanner lid.
-
Identify the alignment folio with the impress side downwards on the right-front corner of the scanner drinking glass. Encounter the engraved guide next to the scanner glass for assist loading the alignment folio.
-
Shut the scanner chapeau.
-
Press the Start Re-create Black button
 or the Commencement Re-create Color button
  on the front panel of the printer. The printer aligns the ink cartridges.

Source: https://support.hp.com/us-en/product/hp-deskjet-2540-all-in-one-printer-series/5295960/model/5295961/document/c03773247
Posted by: coburnreamost.blogspot.com
0 Response to "How To Install Cartridge In Hp Deskjet 1510"
Post a Comment